Saturday, September 30, 2017

Jute Shade Makeover


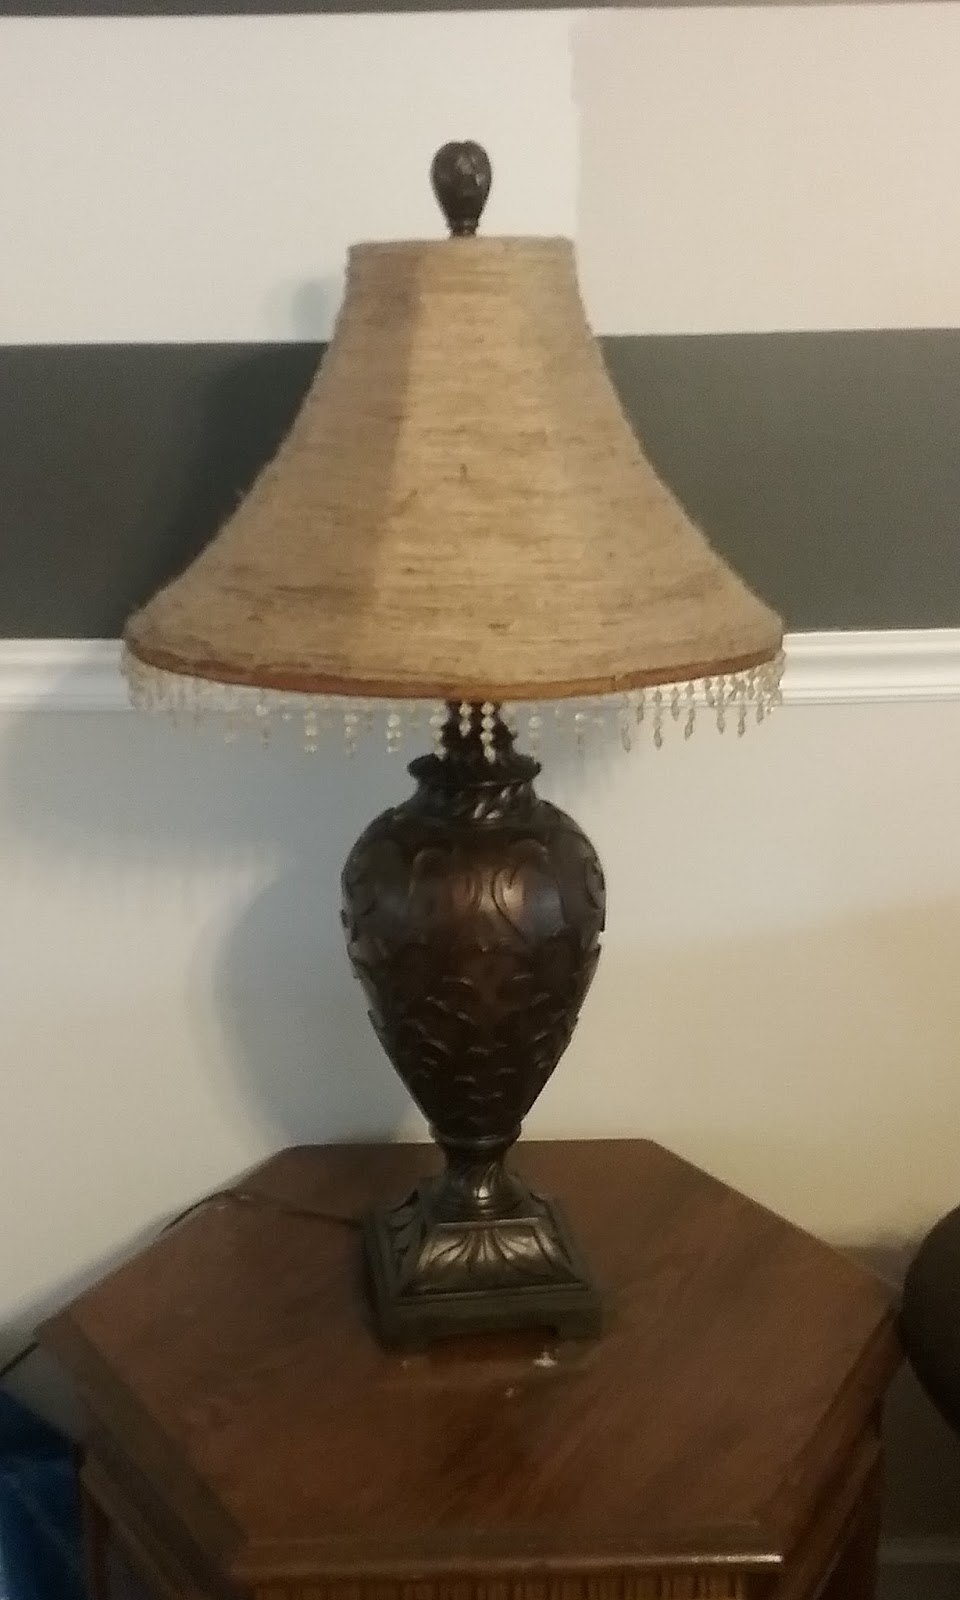
These lamps were perfect in our last home but do not work well in our new home with their current look. The wood scrolled lamp bases are too nice to change so I decided to spruce up the shades by adding jute to give them a more rustic feel.


Before

Very simple to do. Remove the shade, apply Modge Podge (or hot glue gun or method that you prefer) a small section at a time. Wrap the jute around and around until the shade is totally covered.
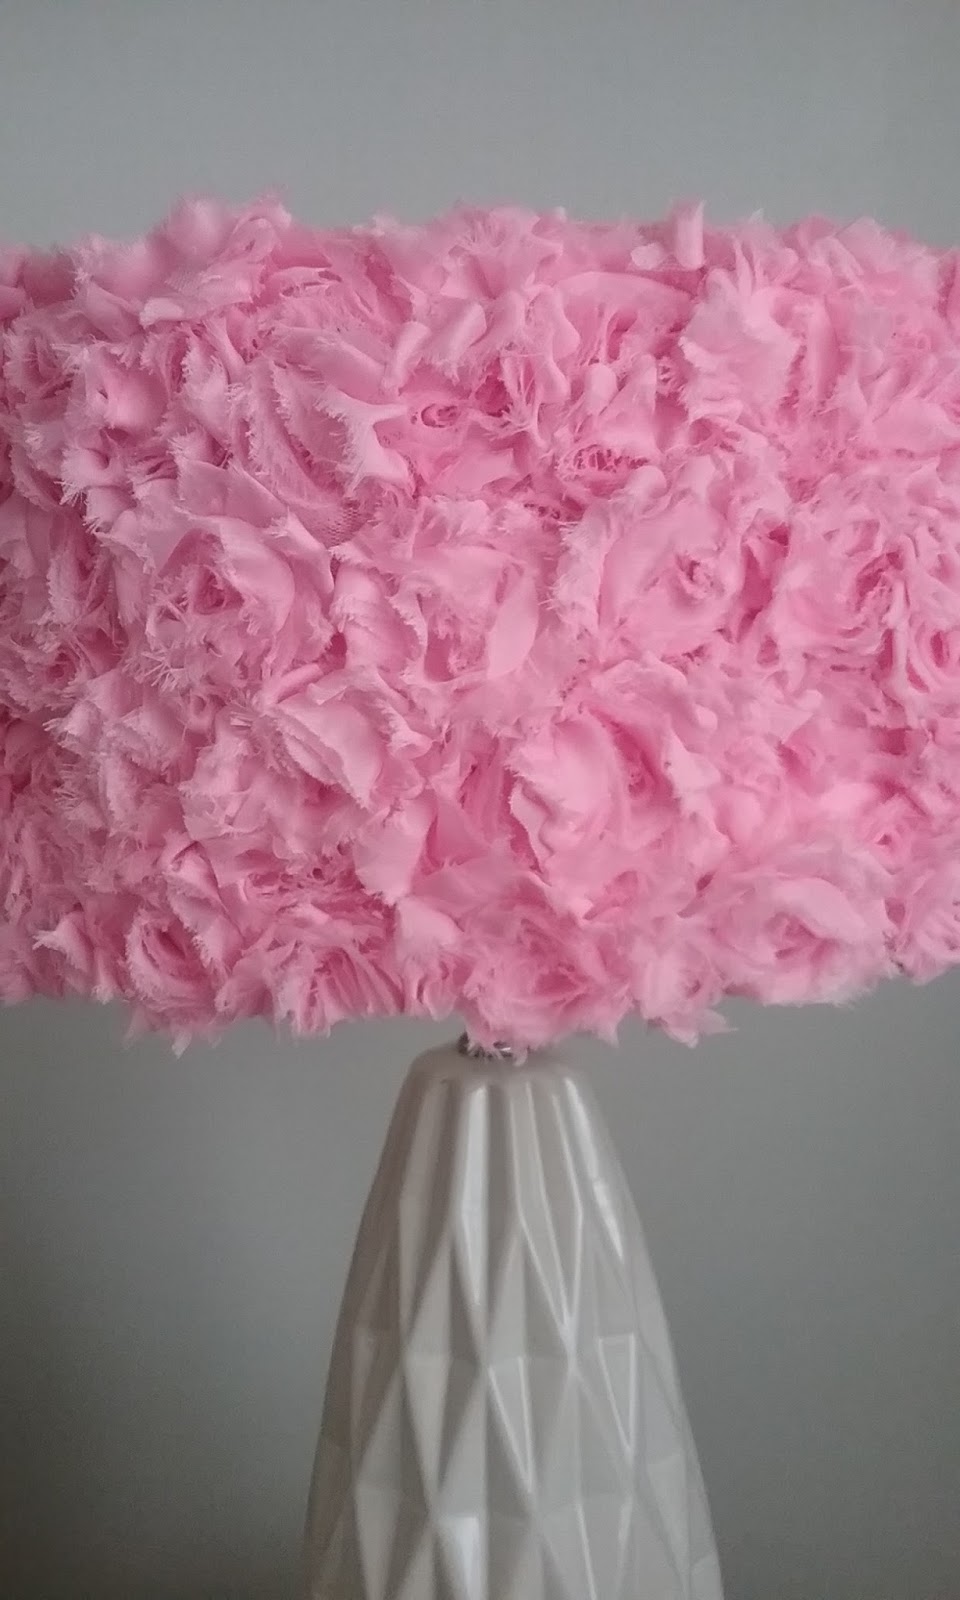
After


I added a fancy bead trim for a decorative finish. I used a glue gun to attach for a stronger hold.


Thursday, September 28, 2017

Project: Rosy Shades

I absolutely adore these lamp shades but my DIY journey to completing them has been long.


Here's what I started with I found these beautiful multi-faceted lamp bases at Goodwill. They are brand new and originally from Target with a Goodwill price -$9 each.

Now I need to find the right size shade to compliment it with the idea I have in mind. Bought 2 of these brand new (still had the plastic on) large white shades at a thrift shop in Ridge Spring - $5 for both!


 I taped off the metal spokes. My idea was to spray both shades in Krylon Glossy Pink Slipper  but once the spray paint dried the finish was not good, the shades were very rough to the touch.

So I tried again with Rustoleum Candy Pink spray for a matt finish.. This finish worked better but the colour looked blotchy once on the lamp was turned on - SMH!!


Blotchy!!!


Quick fix idea - I covered the inside of the shades with a cheeky candy stripe wallpaper but after doing so they still lacked lustre and pop. 


Rosebuds - so since pink is the accent colour in the predominantly neutral hued room I knew I had to introduce accent colour with texture. I bought these rose bunches on strip and adhered them to the entire shade using a hot glue gun. 


Now, that works.


Yeah!!


Tuesday, September 26, 2017

First Ever Attempt at Reupholstering

Stripes to Chevrons


Before

Bought this wing back armchair at a thrift shop for $5. It is in really good condition aside from a tear on the wing and a tatty armrest. 
Tears

Although I do love the striking green stripe fabric the tear cannot be repaired so I decided to attempt reupholstering it. Help!!


I bought 7yds of this funky brown Italian chevron fabric from Hobby Lobby. Even though I took many pictures every time I removed the fabric. I decided to proceed by removing one area at a time  to prevent me from getting confused on how to fit it back together. 


It took me 3 weeks to finish (this is my first attempt ever, lol) and although it wasn't easy to master I think I did a pretty good job for a first timer and I LOVE IT!!@


Monday, May 1, 2017

Project: Rustic Coat Rack


Very simple to make. Once again I used wooden pallet planks to make this entryway coat rack. You will need 2 shorter plank pieces to attach the coat rack to the wall and support the longer planks. I only used 3 long planks because we only have a narrow wall area in our entry but you can use as many as you wish. Sand each plank until smooth to remove any splints or rough areas which may snag clothing/coats. I also used sandpaper to round off some of the edges.


Arrange the planks into the pattern you wish, check your measurements for equal spacing and drill holes if necessary to fit the size of the coat hook screws and to secure rack to the wall. Alternatively you could nail the pieces together in you desired pattern. I used longer screws on the bottom short plank and screwed together. 


You can paint, stain and/or varnish but I left mine unfinished for a simple rustic look!


Simply attach your hooks, measure and mark its positioning and required height on the wall. Hang your coat rack et voila!! 


Sunday, March 12, 2017

Project: Rustic Pastel Planters

Rustic Pastel Planters


My friend visited me during the week and bought me these snake plants but I had no pots big enough or deep enough to plant them in, so I made these rustic wooden planters in an afternoon to house them! I forgot to take pictures whilst I made them but basically I used 2 wide pallet planks and 1 narrow plank of wood to makes these.

Sand each plank until smooth with no wood splinters and cut into 4 equal lengths each. Glue all the sides of each one together and once dry nail the edges to ensure sturdiness.

Measure the bottom of each one and cut 3 square or rectangular bases for each planter from a piece of scrap wood (if you have any) or plywood. Seal each piece with epoxy to protect wood from water damage once you start watering the plants. Once dry nail the pieces to the bottom of each planter and drill several holes in the base for drainage.

I chose to paint each one in a different pastel colour but you can leave them as is, stain and varnish or just varnish - the choice is yours. Apply 2 coats of paint colour and once dry seal with a spray lacquer or clear acrylic varnish. Line the inside of each planter with garden plant lining material and 3/4 fill with potting compost, put your plant in and pack with additional soil. Et voila!!

I placed one in each room as snake plants are ideal for keeping mosquitoes and other bugs out of your home.


Sunday, February 12, 2017

Project: Pet Storage Cabinets.


We had two rusty and worn wall storage cabinets on our sun porch and two pets who have a ton of stuff all over the house and porch. So these are being re-purposed for them.


Firstly I had to clean them up and prime the metal areas. Using pallet wood planks I measured and cut to size to make shelves to fit the cabinet. I painted the cabinets and shelves white.
Once dry I sprayed black chalkboard paint onto the doors. I had to spray 4 coats on each door to get thorough coverage. I mounted the cabinets onto the wall and attached shelving uprights and brackets to each and placed the shelves on them. I choose to use adjustable shelving to allow flexibility on the pet items I need to store.

Now the doors can be used to write on.
                A storage cabinet for each fur baby!!


Sunday, January 22, 2017

Project: A 'Barrel' of 'Tubs'!!

A "Barrel of Tubs!!"

I picked up this barrel/tub chair at Goodwill 3 weeks ago because it gave me a mind full of good ideas on how to bring it back to life and it only cost $3.75! Watch this space to see it's new lease of life....


Removing the thousands of staple that had been used during manufacturing of the chair was a tedious, tiresome nightmare.


Now to put it all back together! Seat base and remainder of the chair reupholstered in a bright and fun fabric. Don't forget to mark where the legs where to screw back on.


The legs were brown with a high sheen finish and brass metal tip. I covered the brass area on each one and sanded down the brown area on each, primed and then painted white. Once done I removed the masking tape on each and reattached them to the chair.